
Post by Daremo on Oct 7, 2012 13:22:04 GMT -5
Darkfire at JoeCustoms asked if I could show him how I sculpted some ninja arms so I made him this tutorial. Figured I post it here too.
Here's the tutorial, it took me about 5-10 minutes to sculpt this:
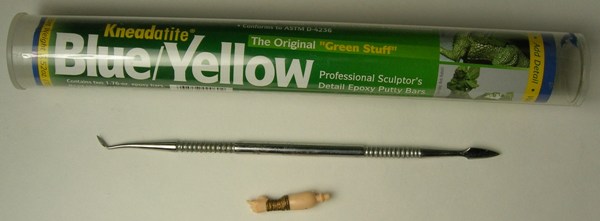
1. Tools
You will need the lower arm, a sculpting tool, and green stuff (kneadatite). Keep some water nearby to keep your tool and fingers wet so the green stuff won't stick to them.
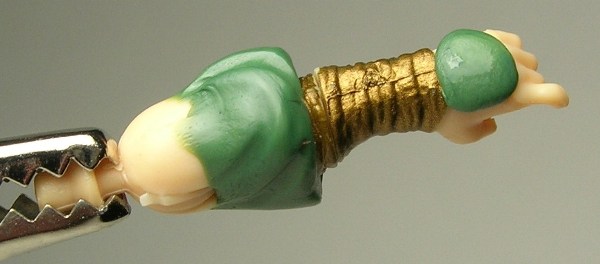
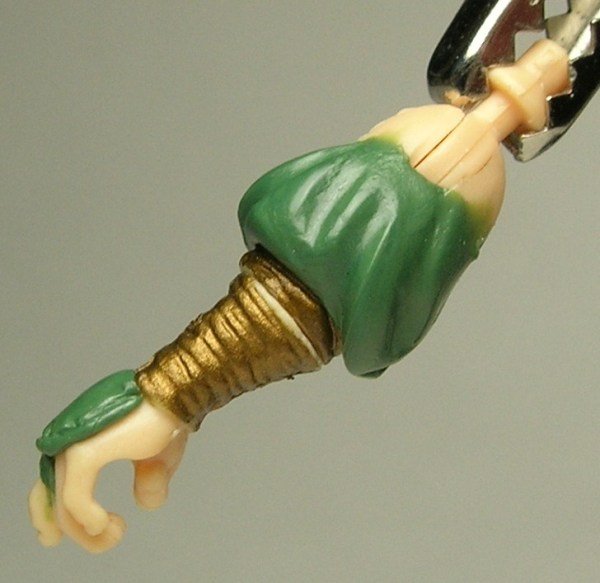
2. Mix some green stuff (equal amounts blue and yellow). Then make a 'snake' and put it around the arm just above the wrist wraps.
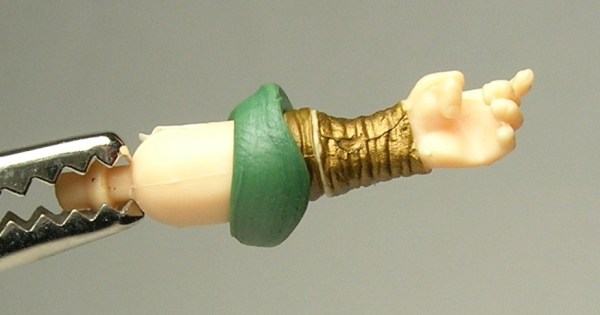
3. Using your finger, blend the green stuff in toward the elbow joint. Be sure to keep the joint clear.

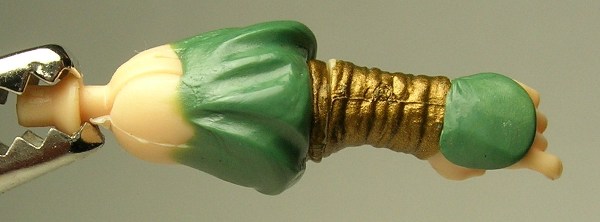
4. Using the curved, rounded end of the tool, make some 'folds'. Use another figure or photos for reference.
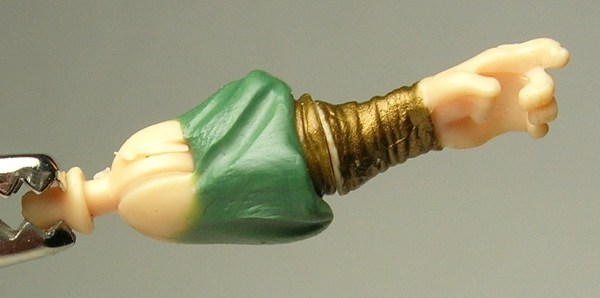
5. Add more 'folds' above the ones you first made, using the same end of the tool. You're trying to make them pop out a little more here.
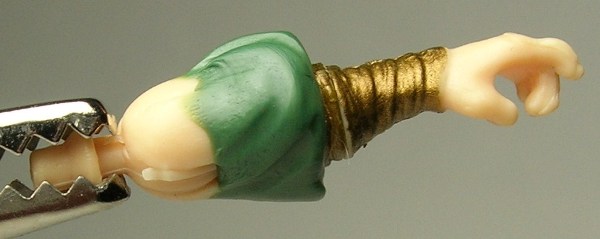
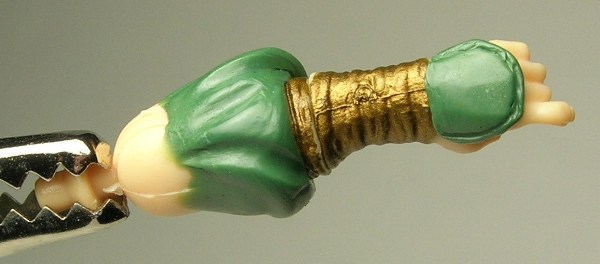
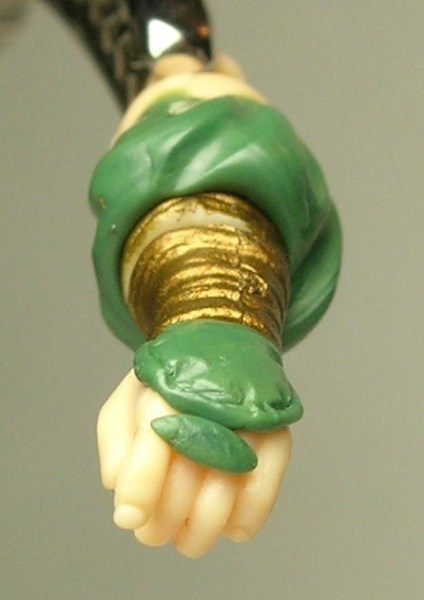
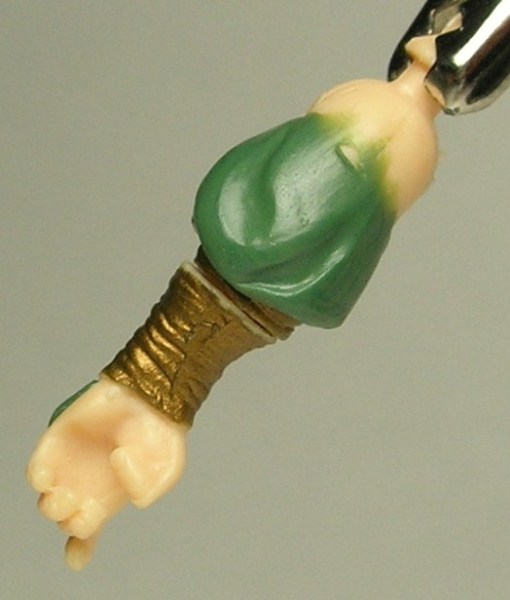
6. Once you feel that you’ve made enough folds it’s time to sculpt the hand pads. Take a small blob of green stuff and stick it on the back of the hand.
7. Flatten the blob out, making sure to cover the entire back of the hand.
8. Using the pointed, spade like end of the tool; make a line that goes around the edge of the pad.
9. Now using the curved end again, add some dimples to the pad. This will help make it look puffy.
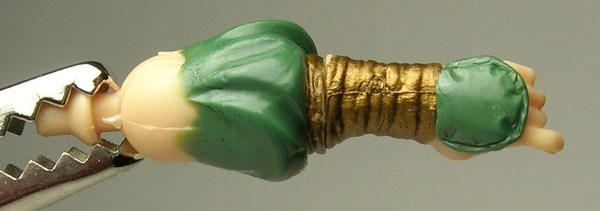
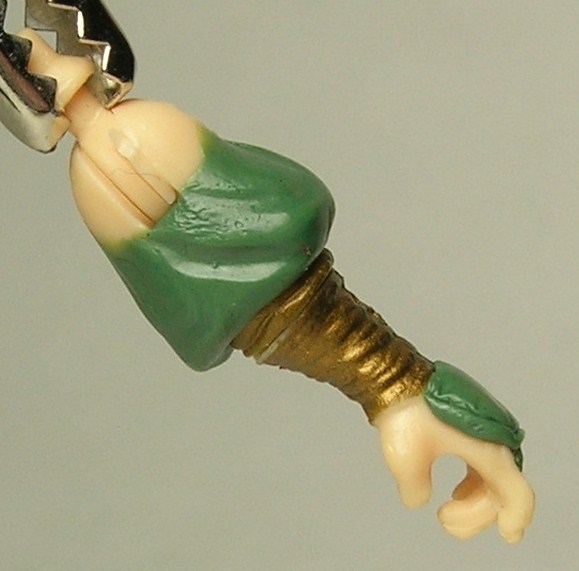
10. Time to add the finger tie. Take a tiny blob of green stuff and add it above the middle finger.
11. Start to cut out the tie using the spade end of the tool.
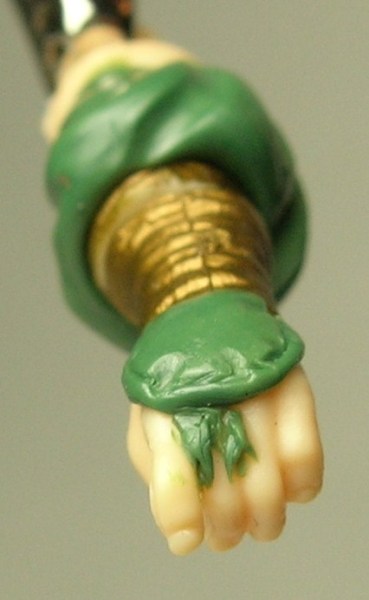
12. Shape the ties and cut and clear away more of the green stuff.
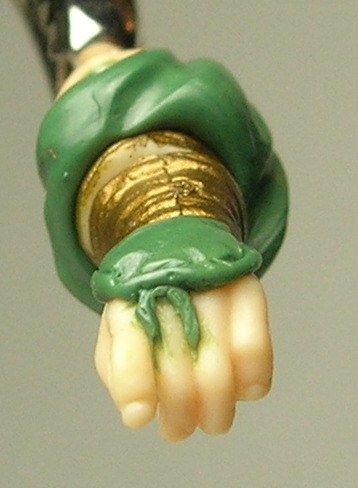
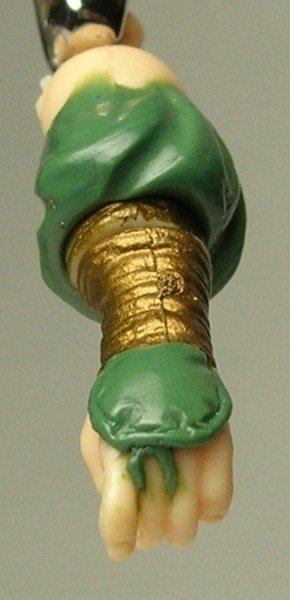
13. Once you’re satisfied with it, you should have something that looks like this.
Here's the tutorial, it took me about 5-10 minutes to sculpt this:
1. Tools
You will need the lower arm, a sculpting tool, and green stuff (kneadatite). Keep some water nearby to keep your tool and fingers wet so the green stuff won't stick to them.
2. Mix some green stuff (equal amounts blue and yellow). Then make a 'snake' and put it around the arm just above the wrist wraps.
3. Using your finger, blend the green stuff in toward the elbow joint. Be sure to keep the joint clear.
4. Using the curved, rounded end of the tool, make some 'folds'. Use another figure or photos for reference.
5. Add more 'folds' above the ones you first made, using the same end of the tool. You're trying to make them pop out a little more here.
6. Once you feel that you’ve made enough folds it’s time to sculpt the hand pads. Take a small blob of green stuff and stick it on the back of the hand.
7. Flatten the blob out, making sure to cover the entire back of the hand.
8. Using the pointed, spade like end of the tool; make a line that goes around the edge of the pad.
9. Now using the curved end again, add some dimples to the pad. This will help make it look puffy.
10. Time to add the finger tie. Take a tiny blob of green stuff and add it above the middle finger.
11. Start to cut out the tie using the spade end of the tool.
12. Shape the ties and cut and clear away more of the green stuff.
13. Once you’re satisfied with it, you should have something that looks like this.