|
|
Post by Daremo on Oct 7, 2012 18:25:06 GMT -5
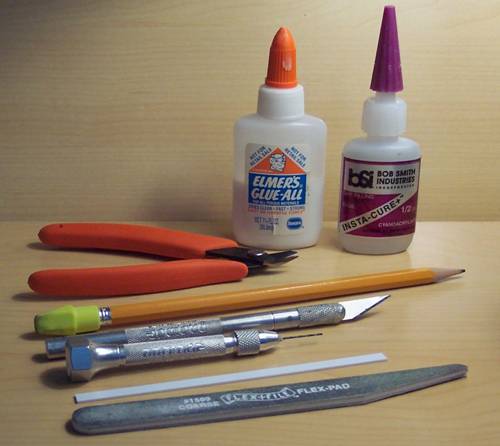
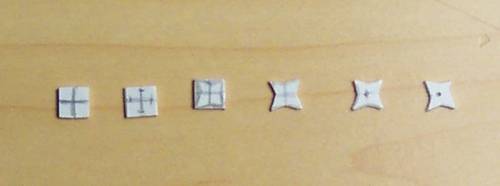
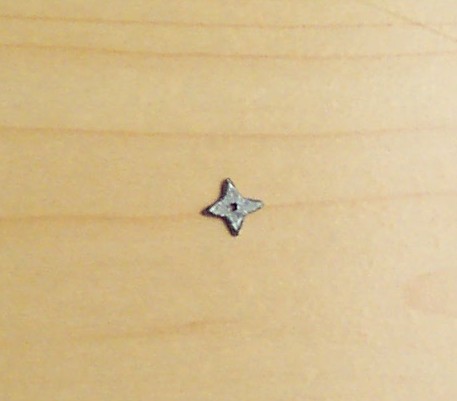
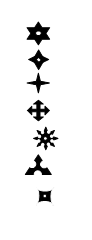
Step 1. Tools and Supplies: Hobby Knife Pencil Sand Paper/File Elmer's Glue (Super Glue if you can't get Elmer's) .5mm piece of Styrene Small Drill Step 2. Cut and Shape: Take a 1mm piece of Styrene and cut a 1/4" square. Take a pencil or another writing instrument and divide the square into 4 parts. Next mark 1/3 from the edge on the four lines you drew. Draw a line going from the corners to the 1/3 mark on each side. You should now have the outline for your shuriken. Now take your hobby knife and cut the shuriken shape out (mind your fingers as it's easy to cut yourself making these). Create an edge using a file or sandpaper. Lastly, take a small drill and drill a hole in the center of your shuriken. Step 3. Paint: Now, it's time to paint. I'm using Testors Model Masters Acrylics. First, prime the shuriken. Then paint the whole thing flat black. Next paint the whole thing steel. Once the paint dries, seal it with Testors Glosscote or Dullcote. Step 4. Using a Shuriken Template: Alternatively, you can make a shuriken template to paste on the styrene which you can then cut out. I used Excel to make the shapes and printed them out to the right size. You can also find images online to use as templates. It might take some trial and error to get the sizing right. |
|